How to Install Fish Finder | Step by Step Method For Beginners
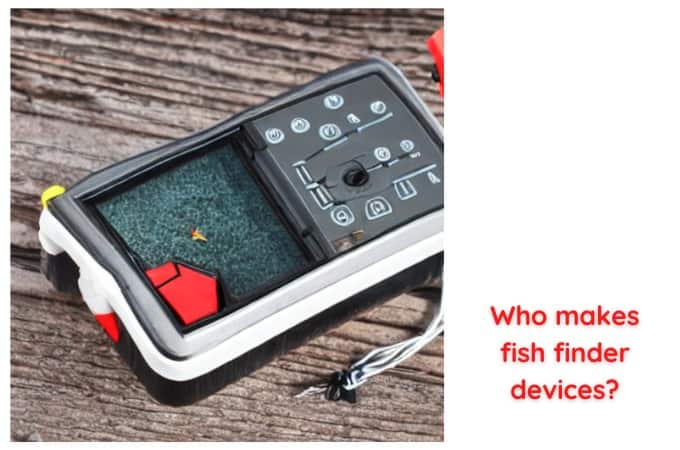
Today we will discuss How to Install Fish Finder. A fish finder is an excellent device that will make your fishing expeditions a lot more enjoyable and hassle-free. However, if you don’t install it correctly then it will be nothing but a nuisance. The fish finder should be in a place that is easy to read and access.
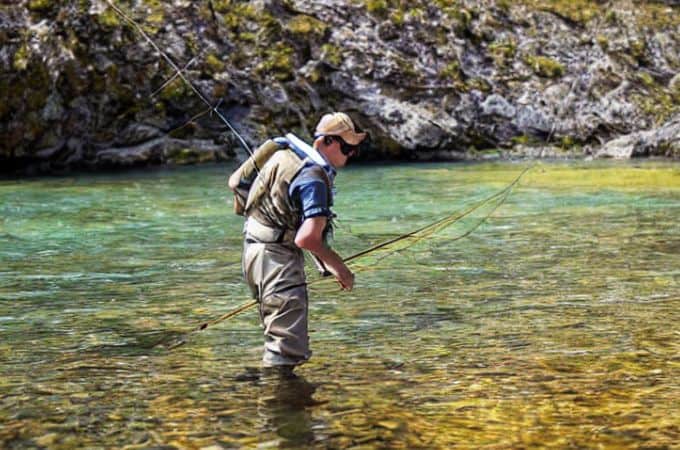
Be a hardcore angler or novice, having a fish finder will definitely ease up your job. Getting a fish finder will not only make your fishing experience better but also make it a lot more worry-free.
In this article, we‘ll provide you with all the details and information so that you can install the fish finder in the correct way. All you need is the right set of tools with proper guidance and voila! You’re good to go to rock your next fishing expedition.
How to Install Fish Finder The Right Way:
Registration is a Must :
Before you move on with the installation process, make sure you register with the seller to get all the new updates and avail the warranty if required. As soon as you unbox the sonar unit, go to the manufacturer’s website and put on your details so that you stay updated.
Time to Update The Software:
A technological device with backdated software will be of no use. Like all your smart gadgets, fish finders also need regular software updates to stay up to date. Update the software as soon as you take the device out from its packaging as this will allow you to use the device right away.
Many fish finders nowadays come with an SD card slots as well. This will enable you to download your settings and GPS coordinates in it.
Find The Sweet Spot and Power Source:
Finding the best location is important for installing the binnacle mount. Try to put the fish finder in the middle of the helm so that you can get the best viewing angle. Ensure that there are no obstacles on the way and the fish finder should be placed at the waist to shoulder height for easy reach. Once you’ve figured out the spot, it’s time to move on to the power source. Make sure you have a power source that will provide adequate power to the finder. Also, ensure that the wire is able to reach the power source. However, don’t keep the wires in a slack position as that might result in a fatal accident.
Drill The Spot:
Drilling the holes in the wrong spot can jeopardize the entire process. Drill the holes at full speed to ensure that there’s no splinter. Drill a hole behind the binnacle mount and make sure that there’s adequate space for the wires to pass over.
Now add sealant to the holes before mounting the fish finder to ensure that everything stays in place. This will help the device to stick to its place even during heavy impacts. Give a few days for the sealant to dry so that moisture will not be able to get inside through the hole.
Install The Transducer:
The transducers are the one that sends the sonar waves down the water. Finding the perfect position for the transducer is also crucial. Once you’ve figured out the right spot, hold the transducer bracket against the transom and adjust the position.
Tips For Installing Transducer:
Even if you’re aware of the process, read the instruction manual to get a clearer idea of the process.
- Do not keep the transducer near any obstruction to ensure that it’s receiving the signals properly. It should be placed near to the center of the boat on the transom, however, it shouldn’t be so close that it gets constant interference from the cavitation.
- Cover up the transducer with a shield to protect it from any sort of external damage or impact.
- If you’re fishing on a boat with very high speed then a transom mount transducer will not be an ideal choice for you as they do not cope well with the drag force.
- The transducer should be in contact with the water at all times.
- If you want to acquire accurate results even during high speed then invest in a through hull transducer as they deliver the most accurate result despite the high speed. However, they are a bit pricier compared to other models but they have a longer range with phenomenal quality.
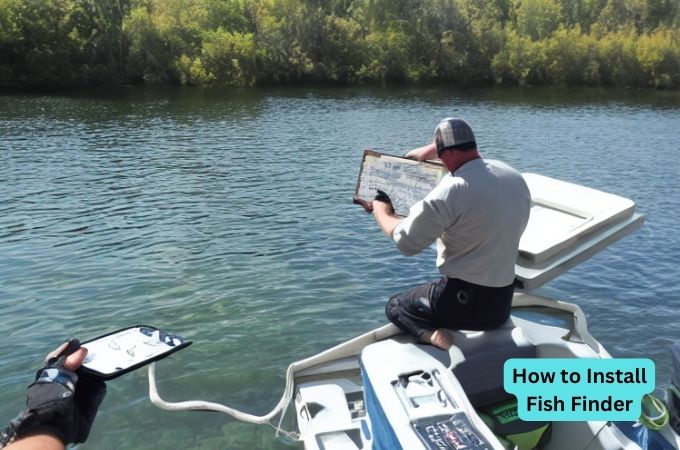
Setup The Fish Finder
Now it’s time to hook the fish finder to the boat. Turn off the battery before taking the wires to the finder otherwise you might get electrocuted. Make sure the device is getting power and it turns on properly. If it doesn’t then double check if the wires are connected properly or not.
Once you turn the device on and have your own setting to interpret the images, you’ll immediately fall in love with the device as it’ll make you fishing expeditions a lot more adventurous and hassle-free.
Some Important Tools For The Installation
Gloves and Fish Tapes:
Gloves will protect your hands from any cuts and scrapes. The fish tape is a stiff steel material that comes really handy while running the transducer and power cables from the head unit to the battery.
Fuse Holder and Kit:
An inline fuse will protect the fish finder from sudden voltage and current spikes. You can use blade style, ATO, or mini-size fuses. Before buying the fuse, check the user manual for the required amperage of the fuse.
Drill and Drill Bits:
A good drill with sharp bits will help you drill more even and splinter-free holes.
Wrapping Up:
No matter what type of fishing you’re into or whatever the water condition is, a fish finder will ease up your workload and give you a better fishing experience. Installing the fish finder may seem like quite work but they’ll make your fishing expeditions filled with excitement. A fish finder will help you catch fish and also help you keep your boat safe by showing the nearby obstructions. So, go grab your fish finder and catch as many fishes as you can.